Loom video to documentation: a simple playbook for product teams
Why teams struggle to go from video to docs
If you’ve ever shipped a feature, recorded a quick Loom to explain it, and then watched the “real documentation” never happen—you’re not alone. The gap from loom video to documentation is where product knowledge gets stuck in chats, meetings, and one-off recordings.
The good news: you don’t need a huge documentation project to fix this. You need a lightweight, repeatable workflow that turns a single video into a publishable help article (with steps, screenshots, and consistent structure).
What “loom video to documentation” actually means
A practical definition:
Loom video to documentation is the process of converting a screen recording (usually a feature walkthrough, SOP, or bug reproduction) into written, structured content that someone can follow without watching the video.
High-quality documentation typically includes:
- A clear goal and intended audience
- Prerequisites (permissions, plan, settings)
- Step-by-step instructions
- Screenshots or annotated visuals
- Expected outcomes and troubleshooting
- A maintained location (help center, internal wiki, or onboarding hub)
Common use cases (when video-first wins)
Product teams tend to record Looms constantly. The trick is choosing which ones should become durable docs.
1) Release notes and “what changed” walkthroughs
Record the new workflow once, then convert it into a help article and share it with Support/CS.
2) Internal SOPs for repeatable tasks
Examples:
- How to QA a feature
- How to configure a workspace or permissions
- How to verify a billing scenario
3) Customer support macro articles
If Support answers the same “how do I…?” question weekly, a Loom + article combo is often the fastest path to consistency.
4) Onboarding and training
Training content becomes much easier to maintain when each video maps to one article with clear steps.
Secondary keywords used naturally in this post: video documentation workflow, video to SOP, convert Loom to help article, product documentation process, internal knowledge base, screen recording to step-by-step guide, help center article template, SOP template, onboarding documentation.
Recording tips that make documentation easier later
A strong recording reduces editing time and produces cleaner written steps.
Keep the scope tight (one objective per video)
Aim for: “After this, you can do X.”
Bad: a 12-minute tour of everything.
Good: a 3–6 minute walkthrough of one workflow.
Narrate in steps (so the doc structure is already there)
Use language like:
- “First, open…”
- “Next, click…”
- “Now verify…”
Call out prerequisites upfront
Examples:
- Admin access required
- Feature flag must be enabled
- Test account needed
Zoom / cursor discipline
- Pause briefly before clicks
- Don’t move the mouse constantly
- Increase UI zoom if the interface is dense
Say the UI labels out loud
When you say “Click Settings → Billing,” transcription and later editing becomes dramatically faster.
A step-by-step process to convert a Loom into documentation
Below is a lightweight process product teams can adopt without creating a new “docs project.”
Step 1: Decide the doc type
Choose one:
- How-to article (most common)
- SOP (internal, repeatable task)
- Troubleshooting guide (symptoms → causes → fixes)
- Feature overview (what it is, when to use it, key settings)
Step 2: Extract the “source of truth” from the video
As you watch the Loom, capture:
- The user goal (“Create a workspace-level role”)
- The key screens visited (breadcrumbs)
- Each action (clicks, inputs, toggles)
- Any decision points (“If you’re using SSO, do X instead”)
Step 3: Draft the article structure before writing details
A reliable structure keeps your docs consistent:
- What this is / when to use it
- Prerequisites
- Steps
- Expected result
- Troubleshooting / edge cases
Step 4: Turn narration into numbered steps
Rewrite spoken instructions into short, scannable steps:
- Use one action per step when possible
- Start with a verb (Open, Click, Select, Enter)
- Include UI labels exactly as shown
Step 5: Add screenshots (only where they reduce confusion)
Add screenshots for:
- Complex settings pages
- Multi-step dialogs
- Places where users commonly get lost
Skip screenshots for obvious single-click steps.
Step 6: Add “what success looks like”
End with a concrete outcome:
- “You should now see the role listed under…”
- “A confirmation banner appears…”
Step 7: Publish and make ownership explicit
Decide:
- Where it lives (help center, wiki, or handbook)
- Who maintains it (a team/role, not “someone”)
- When it’s reviewed (e.g., at each release touching the workflow)
A concrete example: turning a 5-minute Loom into a help article
Scenario: A PM records a Loom showing Support how to enable a new permission setting.
What the Loom contains
- Opens Admin panel
- Navigates to Roles
- Enables a permission toggle
- Saves changes
- Verifies via a test user
What the finished doc should contain
- Title: “Enable X permission for a role”
- Audience: Admins / workspace owners
- Prerequisites: Admin access
- Steps: 6–10 numbered actions
- Verification: “Log in as test user and confirm…”
- Troubleshooting: “If you don’t see Roles, you may not be an admin”
This is the difference between “a video someone might watch” and “documentation someone can follow.”
Templates you can copy (Markdown)
Template: Loom walkthrough → How-to help article
## Summary
One sentence explaining what the reader will accomplish.

## When to use this
- Use this when…
- Not recommended when…

## Prerequisites
- Permission/role required:
- Accounts or test data needed:
- Feature flags/settings:

## Steps
1. Go to **[Page/Area]**.
2. Click **[Button/Tab]**.
3. Enter **[Value]** in **[Field]**.
4. Select **[Option]**.
5. Click **Save**.

## Expected result
After saving, you should see…

## Troubleshooting
- If you don’t see **[UI label]**, check…
- If you get **[error]**, try…
Template: Video → Internal SOP
## Purpose
Why this SOP exists and who uses it.

## Frequency
Daily / weekly / per release / as needed.

## Owner
Team or role responsible for keeping it current.

## Inputs
- Links/accounts needed:
- Required permissions:

## Procedure
1. …
2. …
3. …

## Validation
How to confirm the outcome.

## Rollback / Safety
What to do if something goes wrong.
Publishing: where this documentation should live
A simple rule: publish where the audience already looks.
- Customer-facing: Help center / docs site
- Internal: Wiki / handbook / ops hub
- Cross-functional: Link it in the release announcement and pin it in the relevant channel
Also consider adding:
- A short “last updated” line
- Tags (feature area, permissions, onboarding)
- A consistent naming pattern (e.g., “How to …”)
Checklist: from Loom to publish-ready doc
- Video covers one clear objective
- Title matches the user goal (not the feature name)
- Prerequisites listed (roles, plan, settings)
- Steps are numbered and start with verbs
- UI labels match the product exactly
- Screenshots added where they prevent confusion
- Expected result is explicit
- Troubleshooting includes at least 2 common issues
- Doc owner and location are clear
Tools to help (and what to look for)
You can do the process manually, but most teams hit the same bottlenecks: transcription cleanup, screenshots, formatting, and keeping outputs consistent.
Option 1: Manual (Docs + screenshots)
Best for: very occasional docs.
Tradeoffs: slow, inconsistent formatting, easy to skip screenshots or miss steps.
Option 2: Transcription + doc editing
Best for: teams who record often and want faster drafts.
Tradeoffs: still requires structuring, screenshot capture, and cleanup.
Option 3: Video-to-documentation workflow tools
Best for: product/support teams producing lots of SOPs, help articles, and localized versions.
What to look for:
- Converts one video into structured steps (not just a transcript)
- Automatically captures screenshots and lets you annotate
- Produces publish-ready outputs you can edit
- Supports localization and voiceover if you need multi-language training
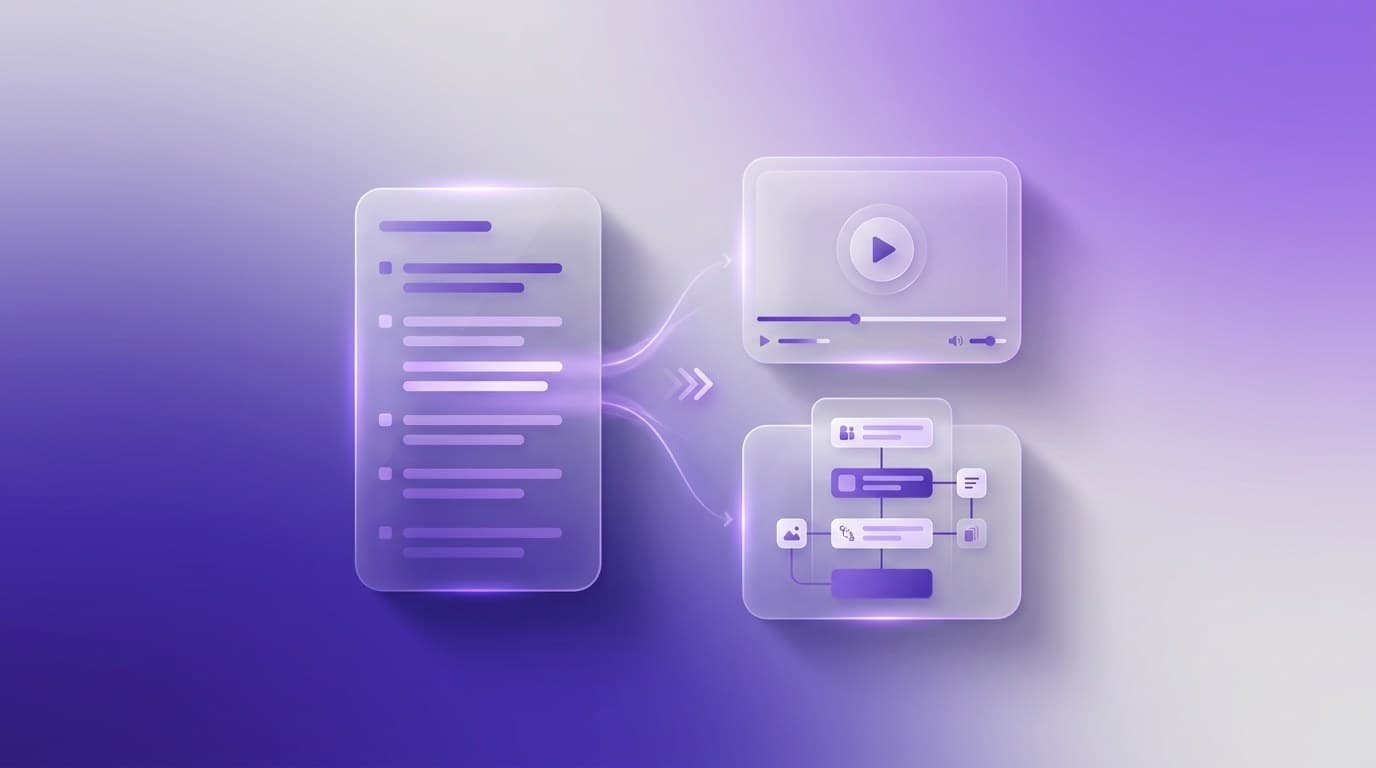
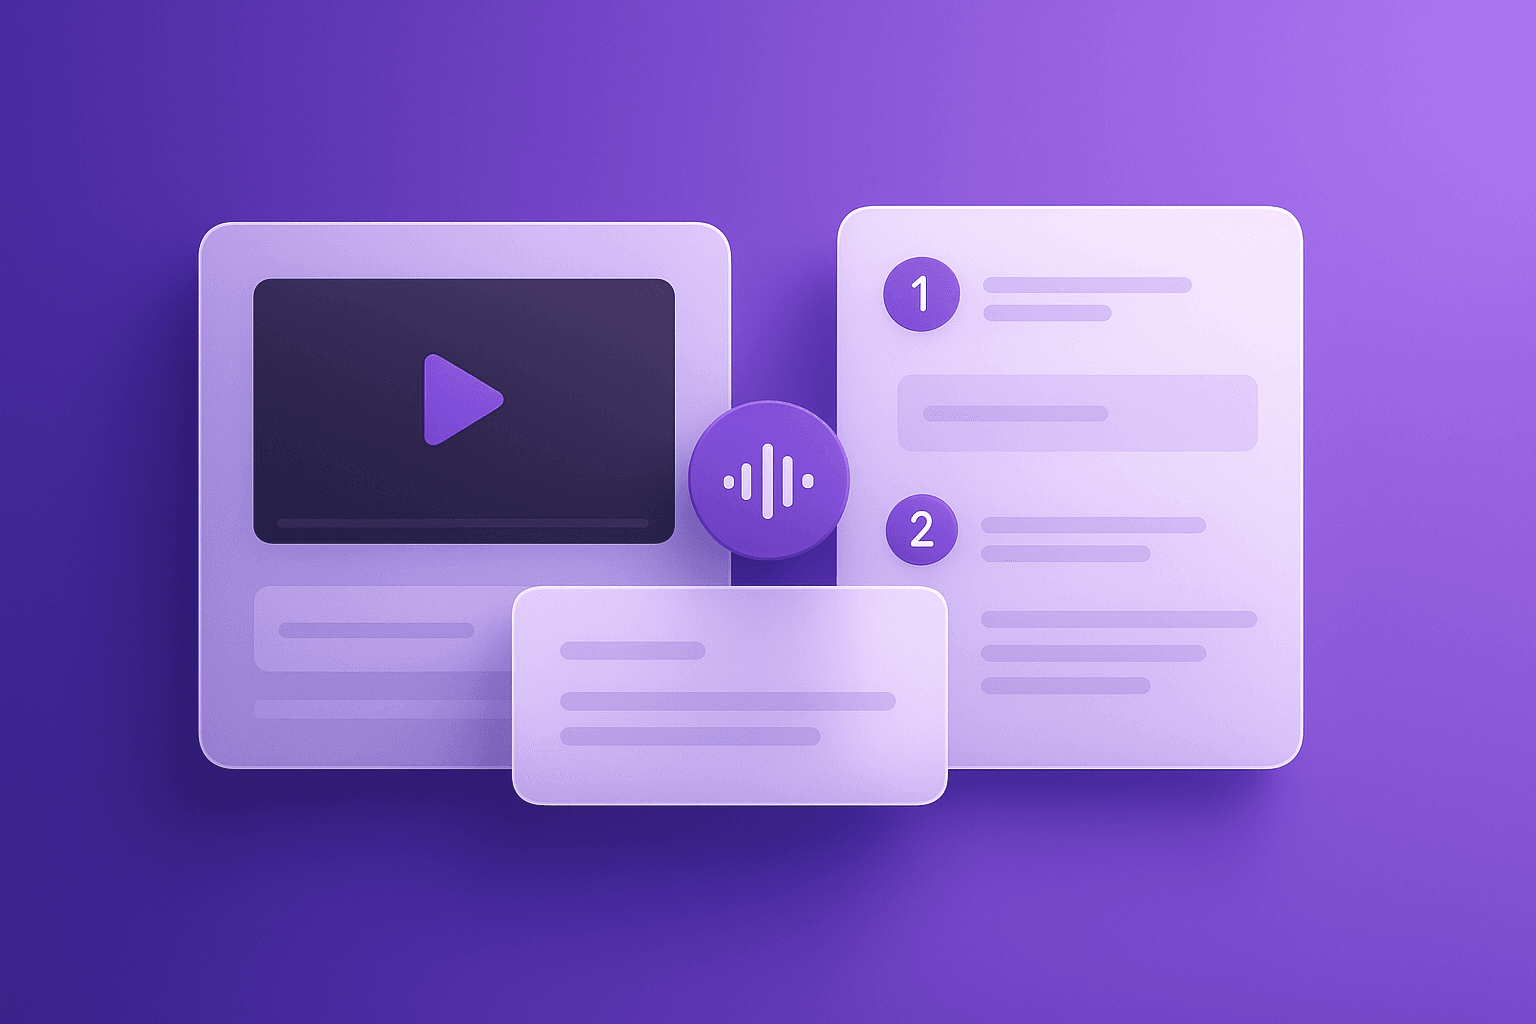
Vidocu fits this third category: it’s built for turning a single recording into multiple professional outputs (step-by-step article, screenshots, subtitles, and localization) so teams spend less time on the “everything after” work.
Related Vidocu workflows
- Learn how Vidocu approaches converting a Loom video to documentation workflow end-to-end.
- Explore the broader video to documentation process for SOPs, training, and help content.
- Visit the Vidocu homepage to see the full workflow and outputs from a single upload.
FAQ
How long should a Loom be if I want to turn it into documentation?
Usually 3–8 minutes for a single workflow. If it’s longer, consider splitting it by objective so the written steps stay focused.
Should the doc include the video embed?
Often yes—video helps with context, while the steps help users complete the task quickly. If your audience prefers skimming, the written steps still need to stand alone.
What’s the fastest way to get screenshots from a Loom?
You can capture them manually while watching, but it’s time-consuming. A workflow tool that auto-captures screenshots can cut a lot of repetitive effort.
How do we keep video-based docs up to date after UI changes?
Assign an owner and tie updates to releases that touch that area. Keep each doc scoped so updating doesn’t require redoing a long “tour” video.
What’s the difference between a transcript and documentation?
A transcript is a record of what was said. Documentation is structured instruction: prerequisites, numbered steps, visuals, and expected outcomes.
Turn one video into an SOP in minutes
Once you standardize your loom video to documentation workflow, the biggest time sink becomes formatting, screenshots, and keeping outputs consistent. Vidocu helps by turning one recording into a structured article with visuals you can edit and publish quickly. See the workflow here: Loom video to documentation.

Written by
Daniel SternlichtDaniel Sternlicht is a tech entrepreneur and product builder focused on creating scalable web products. He is the Founder & CEO of Common Ninja, home to Widgets+, Embeddable, Brackets, and Vidocu - products that help businesses engage users, collect data, and build interactive web experiences across platforms.