How to Annotate an Image Online Free
To annotate an image online for free, open a browser-based tool like Vidocu's free image annotator, upload your PNG, JPEG, or WebP, add arrows, boxes, text, or a blur, and download the result. No account, no software install, and no watermark. A typical screenshot markup takes well under a minute.
That is the fast answer. Below is the full walkthrough, plus how to pick the right markup for the job and what to do when annotated screenshots are part of a bigger documentation workflow.
Why annotate an image at all
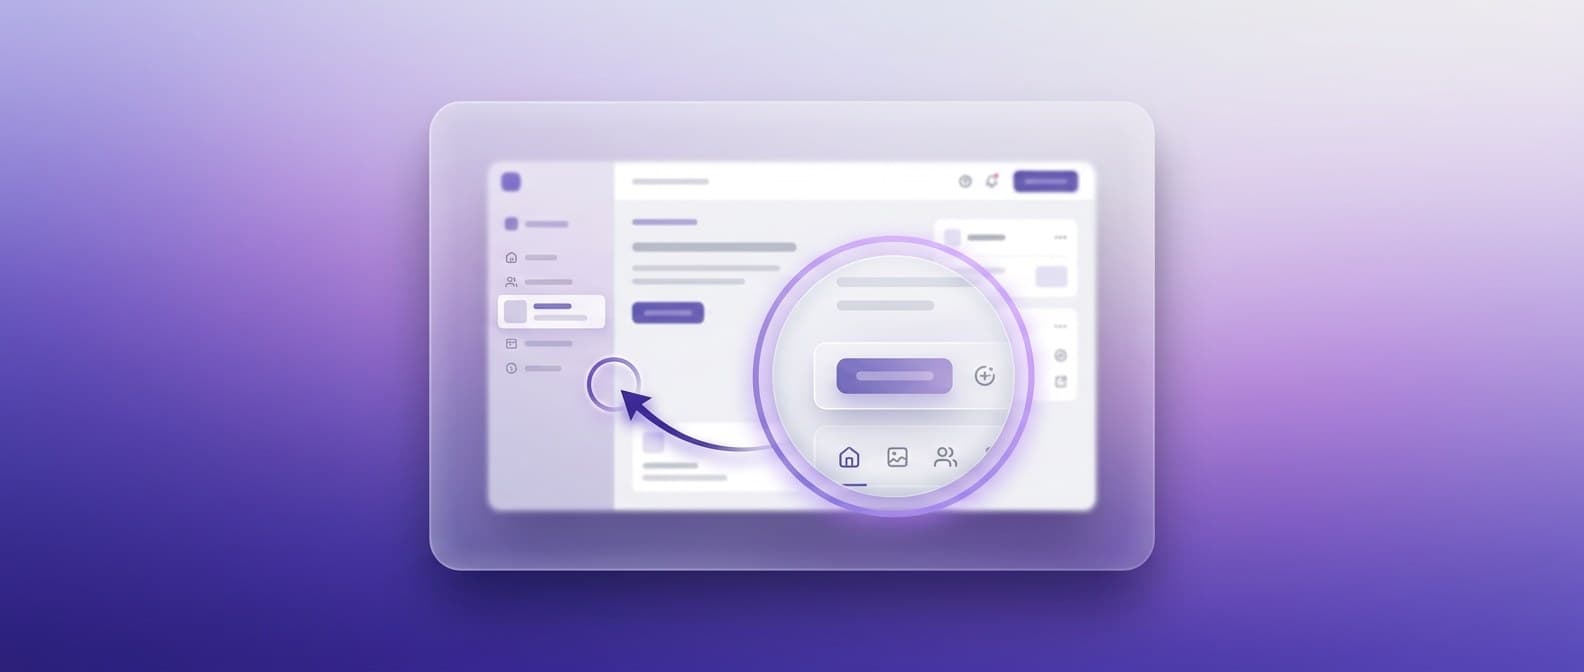
A single arrow saves a paragraph. Instead of writing "click the blue button in the top-right corner, next to the search bar," you drop an arrow on it. Annotating images is how you make a screenshot self-explanatory: point at the thing, label it, and hide anything sensitive.
The three jobs people reach for most are the same ones any good annotator should make easy:
- Point and label. Arrows, boxes, and text to direct attention.
- Hide sensitive data. A blur tool to cover emails, names, account numbers, and tokens before you share.
- Show a sequence. Numbered callouts when one screenshot has to communicate several steps.
How to annotate an image online, step by step
Here is the workflow, using a free browser tool with nothing to install.
1. Have your image ready
Take or save the screenshot you want to mark up. Most annotators accept PNG, JPEG, and WebP. If you are grabbing a screen capture, PNG keeps text crisp; JPEG is fine for photos. No need to resize first; you can crop inside most tools.
2. Open a free image annotator
Go to a browser-based tool that does not require an account or stamp a watermark. Vidocu's free image annotator runs entirely in your browser, accepts files up to 50 MB, and adds no watermark. Because the processing happens in-browser, your image never leaves your device, which matters when the screenshot contains anything private. If you want to weigh several options first, our roundup of the best free image annotation tools compares them on signup, blur, and numbered-step support.
3. Upload your image
Drag the file onto the page or select it from your device. It loads instantly since there is no server round trip.
4. Add your annotations
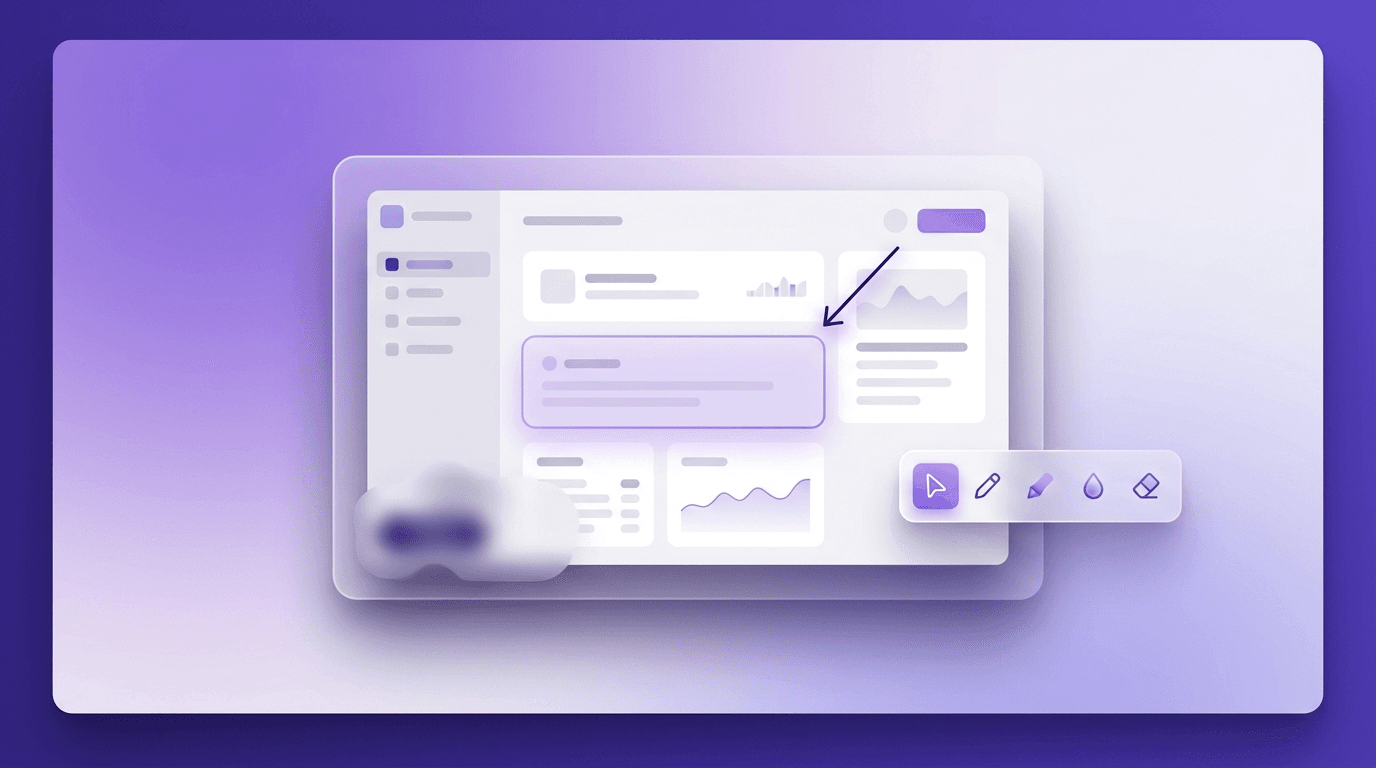
Use the markup tools to make the image speak for itself:
- Arrows and boxes to point at or frame a specific element.
- Text labels to name a button, field, or step (Vidocu offers six label colors).
- Blur to cover any sensitive information before the screenshot goes anywhere.
Made a mistake? Undo a single annotation or clear them all and start over. Keep it minimal; two clean arrows communicate better than ten overlapping shapes.
5. Download the result
Export the annotated image. Confirm it downloaded without a watermark and at full resolution, then drop it into your doc, ticket, or message.
Annotate a screenshot free, no signup
Upload any image and add arrows, text, and blur in your browser. No account, no watermark, and your image never leaves your device.
Annotate an image freeHow to pick the right markup
A clean annotation is about restraint, not features.
- Use arrows to direct, boxes to group. An arrow says "look here." A box says "all of this matters." Mixing them on purpose reads clearly; scattering both at random does not.
- Blur before you share, not after. Cover emails, names, account numbers, API keys, and anything in a browser tab strip before the image leaves your screen.
- Number when order matters. If one screenshot has to show a three-step sequence, numbered callouts beat three separate arrows. If the steps are big, separate annotated images usually read better than one crowded one.
- Keep color consistent. One accent color for callouts looks intentional. A rainbow of arrows looks like noise.
Where annotated images actually go
Most annotations end up in one of a few places, and the place shapes how much markup you need.
- Bug reports. One arrow on the broken element and a blur over anything sensitive is usually enough. Speed matters more than polish.
- Support replies. A boxed button or a numbered "do this, then this" on a single screenshot answers a ticket faster than a paragraph. Teams that field a lot of these often pair annotated images with video answers for anything multi-step.
- Help articles and onboarding docs. Here annotations are part of a sequence, and consistency across screenshots matters: same arrow color, same label style, same crop. This is the case that benefits most from generating steps from a recording rather than capturing each one (see below). For a deeper walkthrough, Vidocu's guide to annotating an image online covers the tool step by step.
- Customer-facing screenshots. Anything public needs the blur pass done carefully. Support teams annotate screenshots all day, and a missed account number in a published help doc is a real problem.
When annotation is part of documentation
For a one-off bug report or a quick "click here" reply, a single annotated screenshot is the whole job. But a lot of annotation happens inside something bigger: you are building a help article, an SOP, or a tutorial, and the annotated screenshots are individual steps in it.
Doing that screenshot by screenshot is slow. The capture, the annotation, the writing, and the formatting each take a pass, multiplied by every step. This is where Vidocu's image annotator connects to a larger workflow:
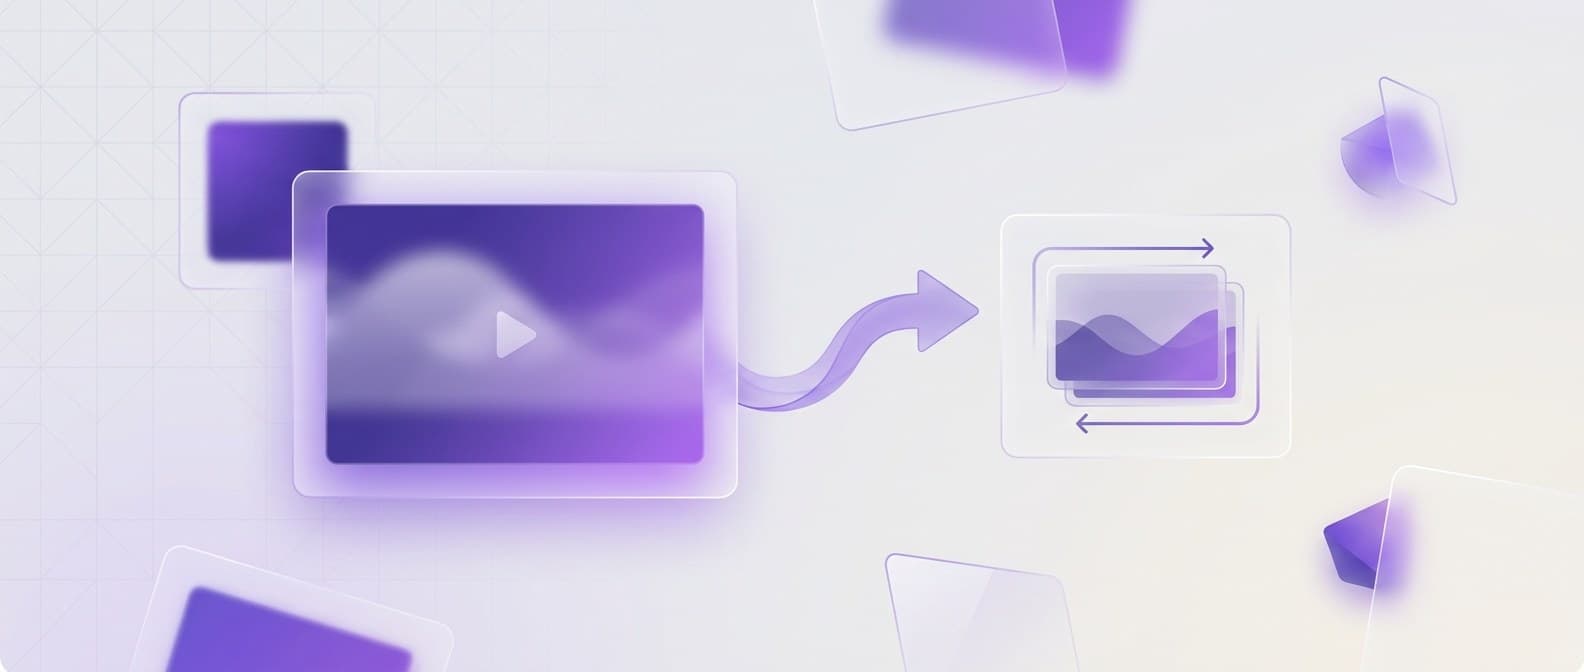
- Record a screen walkthrough once and let Vidocu turn it into step-by-step documentation with auto-captured screenshots, so you are editing generated steps instead of capturing each one by hand.
- Use video elements and annotations to highlight and zoom inside the video itself, not just the stills.
- Publish the finished guide and translate it into 65+ languages with AI subtitles and voiceover from the same source.
So the question is whether you need a single marked-up image or a whole annotated guide. For one image, the free annotator is all you need. For a documented process, generating the steps from a recording beats annotating them one at a time.
From annotated screenshots to a full guide
Vidocu turns a screen recording into step-by-step documentation with auto-captured, annotated screenshots, then translates it into 65+ languages. Start free; Pro from $39/mo.
See video-to-documentationFAQ
How do I annotate an image online for free?
Upload your image to a browser-based annotator like Vidocu's free image annotator, add arrows, boxes, text labels, or a blur, and download the result. Everything runs in the browser, so there is no install, no signup, and no watermark. The whole process takes under a minute for a typical screenshot.
Can I annotate a screenshot without signing up?
Yes. Vidocu's free image annotator works without an account, as do tools like Annotely and Photopea. Some annotators (Markup Hero, Canva, Zight) require a free login for their full feature set, but plenty of options let you upload, mark up, and download with no signup at all.
How do I blur sensitive information in an image?
Open the image in an annotator with a blur tool, select the region you want to hide (emails, names, account numbers, tokens), apply the blur, and export. With Vidocu's free image annotator the blur happens in your browser, so the original image with the sensitive data never gets uploaded to a server.
What image formats can I annotate?
Most browser-based annotators support PNG, JPEG, and WebP. PNG is best for screenshots because it keeps text sharp; JPEG is fine for photos. Vidocu accepts PNG, JPEG, and WebP files up to 50 MB.
Is there a way to annotate screenshots automatically for documentation?
Yes. Instead of capturing and annotating each screenshot by hand, you can record a screen walkthrough and let Vidocu generate step-by-step documentation with screenshots captured and laid out for you. You then edit the generated steps rather than building each one from scratch, which is far faster for multi-step guides.
The short version
Annotating an image online free is a five-step job: have your image ready, open a browser annotator, upload, add arrows or text or blur, and download. The skill is restraint: a couple of clean callouts in one consistent color beat a cluttered image every time.
For a single screenshot, a free image annotator is all you need. If those annotated screenshots are really steps in a help article or tutorial, generating them from a recording is the faster path.
Try Vidocu's free image annotator on your next screenshot and skip the signup.

Written by
Daniel SternlichtDaniel Sternlicht is a tech entrepreneur and product builder focused on creating scalable web products. He is the Founder & CEO of Common Ninja, home to Widgets+, Embeddable, Brackets, and Vidocu - products that help businesses engage users, collect data, and build interactive web experiences across platforms.