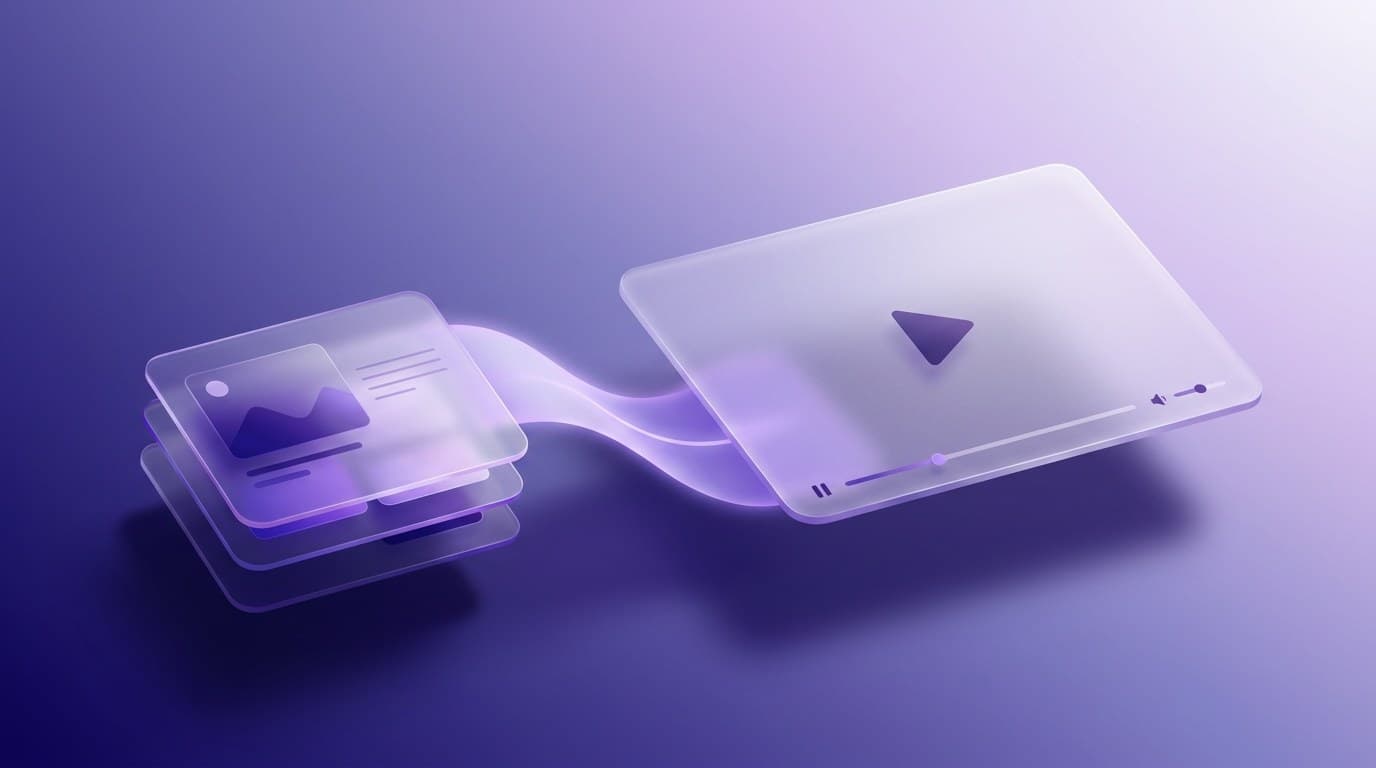
How to Create a Product Demo Video That Converts

A product demo video shows your software in action — and when done right, it can lift conversions by up to 86%. But most demo videos fail. They're too long, too feature-heavy, and built for the team that made the product, not the person deciding whether to buy it.
This guide covers exactly how to create a product demo video that drives signups, shortens sales cycles, and actually gets watched to the end.
What Is a Product Demo Video?
A product demo video is a short video that walks viewers through your product's core features and shows how it solves a specific problem. Unlike a tutorial (which teaches existing users how to do something), a demo video is designed to convert prospects into users.
There are three main types:
- Overview demos — A 60-90 second highlight reel of your product's key capabilities. Best for landing pages and ads.
- Feature-specific demos — Focused walkthroughs of a single feature. Best for feature pages and mid-funnel content.
- Interactive demos — Clickable, sandbox-style experiences where prospects explore your product themselves. Best for sales enablement.
The format you choose depends on where in the funnel your viewer is. Top-of-funnel viewers need the quick overview. Bottom-of-funnel prospects want the deep dive.
Why Product Demo Videos Convert Better Than Text
Numbers don't lie. According to Wyzowl's 2026 report, 89% of people say watching a video convinced them to buy a product or service. Here's why demo videos outperform static content:
- They reduce friction. Instead of imagining how your product works from screenshots and bullet points, prospects see it in action.
- They build trust. Seeing real workflows — not marketing mockups — proves your product actually does what you claim.
- They compress information. A 90-second video can communicate what takes 1,500 words to explain.
- They're shareable. A champion inside a company can forward a demo video to decision-makers far more easily than a feature comparison doc.
SaaS companies that add demo videos to landing pages see 20% lower bounce rates and sales cycles that are 25% shorter on average.
The 7-Step Process for Creating a Demo Video That Converts
Step 1: Define Your Goal and Audience
Before you open any recording tool, answer two questions:
- Who is watching this? A technical evaluator needs different information than a VP making a budget decision. A first-time visitor needs a different demo than someone returning from a free trial.
- What should they do after watching? Start a free trial? Book a call? Share it with their team?
Every decision — length, features shown, tone, CTA — flows from these answers. A demo video aimed at product marketing teams will emphasize different workflows than one built for sales enablement.
Step 2: Script the Story, Not the Features
The biggest mistake in demo videos is leading with features. Nobody cares that you have "AI-powered automation" until they understand the problem it solves.
Use this structure:
- Hook (5-10 seconds): State the problem your audience faces. Make them nod.
- Context (10-15 seconds): Briefly describe the old way of doing things — the pain, the wasted time.
- Solution (45-60 seconds): Show your product solving that exact problem. Walk through the workflow step by step.
- Result (10-15 seconds): Show the output. The finished report, the generated document, the completed task.
- CTA (5 seconds): One clear next step.
Total: Under 2 minutes. That's the sweet spot — long enough to demonstrate value, short enough to hold attention.
Pro tip: Write your script as a conversation, not a product spec. Replace "Our platform leverages AI to generate documentation" with "Upload a video, and you get a step-by-step guide in 30 seconds."
Step 3: Prepare Your Product Environment
Nothing kills a demo faster than notifications popping up, cluttered browser tabs, or test data that says "asdf123." Before recording:
- Clean your workspace. Close unnecessary tabs and apps. Hide bookmarks bars.
- Use realistic data. Create sample accounts with real-looking names, projects, and content. Your viewer should see themselves in the demo.
- Set your resolution. Record at 1920x1080 minimum. If you plan to add zoom and pan effects later, record at a higher resolution so you can crop without losing quality.
- Disable notifications. Turn on Do Not Disturb on every device.
- Plan your clicks. Walk through the exact flow you'll record 2-3 times before hitting the record button. Know every click.
Step 4: Record the Walkthrough
You have several options for recording:
Screen recording only — Best for product-led demos where the UI tells the story. Tools like screen recording software with auto-zoom features (Screen Studio, Loom, OBS) make the footage look polished with minimal editing.
Screen + webcam — Adds a personal touch. Works well for founder-led demos and sales enablement content. The face builds trust, but keep the webcam bubble small so it doesn't cover the UI.
AI avatar — Tools like Synthesia and HeyGen generate a virtual presenter from a script. Good for multilingual demos where you need the same video in 10 languages without re-recording.
Whichever method you choose, follow these recording rules:
- Move deliberately. Slow, intentional mouse movements look professional. Frantic clicking looks rushed.
- Pause on key screens. Give viewers 2-3 seconds to absorb what they're seeing before moving on.
- Record in segments. Don't try to get the perfect take in one shot. Record each section of your script separately and edit them together.
Step 5: Edit for Clarity, Not Flash
Post-production is where good demos become great ones. Focus on:
Trimming dead air. Cut pauses, loading screens, and hesitation. Every second should earn its place in the final video.
Adding zoom effects. When you click a small button or fill in a form field, zoom into that area so viewers can actually see what's happening. This is the single biggest quality difference between amateur and professional demos.
Overlaying text and annotations. Use callouts, arrows, and text labels to highlight what matters. A simple "Click here" annotation prevents viewers from getting lost.
Adding background music. Subtle background music keeps energy levels up without distracting from the narration. Keep it low — the voiceover should always be clearly audible.
Adding subtitles. Auto-generated subtitles make your demo accessible and boost engagement. Most social media video is watched without sound, so captions aren't optional — they're essential.
Step 6: Add Professional Voiceover
A clear, well-paced voiceover transforms a screen recording from "internal Loom" to "marketing asset." You have three options:
- Record yourself. Use a decent USB microphone and a quiet room. Speak naturally — conversational tone beats corporate narration every time.
- Hire a voice actor. Services like Fiverr or Voices.com deliver professional results for $50-200.
- Use AI voiceover. Modern AI voiceover tools sound remarkably natural and let you iterate on the script without re-recording. If you need to create demos in multiple languages, AI voiceover is the only practical option at scale.
Match the voice to your brand. A developer tool can get away with a casual, fast-paced narration. An enterprise platform needs something more measured and authoritative.
Step 7: Publish and Distribute
Where you put your demo video matters as much as how you make it. Key placements:
- Homepage hero. Your best overview demo, front and center. Auto-play (muted) or a clear play button.
- Feature pages. Feature-specific demos embedded on the relevant page. Someone reading about your documentation features should see a documentation demo, not a generic overview.
- Pricing page. A short "what you get" demo reduces hesitation at the decision point.
- Sales emails. Personalized demos for specific prospects. Loom-style recordings work well here.
- Social media. Cut your demo into 15-30 second clips optimized for each platform. Vertical for TikTok and Reels, square for LinkedIn.
- Help center. Repurpose demo footage as how-to guides and documentation for existing users.
Always include a CTA immediately below or after the video. Don't make viewers hunt for the signup button.
5 Common Mistakes That Kill Demo Video Conversions
1. Starting with Your Logo Animation
Your viewer clicked play because they have a problem. They don't care about your 8-second animated logo intro. Start with the hook — what problem you solve — and get into the product within the first 10 seconds.
2. Showing Every Feature
A demo video is not a feature tour. Pick 3-4 features that matter most to your target audience and show them in depth. A focused demo converts better than a comprehensive one. Save the full walkthrough for your docs.
3. Using Marketing Language Instead of Showing
"Our AI-powered platform leverages cutting-edge technology to streamline your workflow" tells your viewer nothing. Show the workflow. Show the before and after. Let the product speak for itself.
4. Ignoring Mobile Viewers
Over 50% of video is watched on mobile. If your demo has small text, tiny UI elements, and no zoom effects, it's unwatchable on a phone. Always preview your demo on a mobile device before publishing.
5. No Clear CTA
Every demo video needs exactly one call to action. Not three. Not zero. One. "Start your free trial" is almost always the right choice. Place it verbally at the end of the video and visually as a button or link below the player.
Best Tools for Creating Product Demo Videos (2026)
The right tool depends on your workflow and budget. Here's a quick comparison:
| Tool | Best For | Starting Price | Key Strength |
|---|---|---|---|
| Vidocu | End-to-end video polish | Free | Subtitles, voiceover, zoom, docs — all in one |
| Screen Studio | Polished screen recordings | $29/mo | Auto-zoom, smooth cursor |
| Loom | Quick async demos | Free (paid from $20/mo) | Record and share in seconds |
| Descript | Script-driven editing | $16/mo | Edit video by editing text |
| Synthesia | Avatar-led presentations | $18/mo | 240+ AI avatars, 130+ languages |
| VEED | Browser-based editing | Free (paid from $12/mo) | No install, auto-subtitles |
| Canva | Template-based videos | Free (Pro $13/mo) | Drag-and-drop, huge template library |
| Clipchamp | Free editing | Free | Built into Windows 11, 1080p export |
| DemoCreator | Full desktop recording | $7/mo | Multi-track, annotations, 4K |
For teams that need to go from raw recording to a fully polished demo with subtitles, voiceover, zoom effects, and annotations, Vidocu handles the entire pipeline in one upload. No switching between tools for each step.
Turn any recording into a polished product demo
Upload your screen recording and Vidocu adds subtitles, AI voiceover, zoom effects, and annotations — automatically.
Try Vidocu freeHow to Measure Demo Video Performance
Creating the video is half the battle. Tracking whether it converts is the other half.
Key metrics to watch:
- Play rate — What percentage of page visitors click play? If it's under 30%, your thumbnail or placement needs work.
- Watch-through rate — What percentage watch to the end? Drop-off before the CTA means your video is too long or loses focus.
- Click-through rate — How many viewers take the next action (signup, book demo, etc.)? This is the metric that matters most.
- Conversion rate — Of those who watched, how many became users or customers?
Compare these metrics against pages without video. If your demo page converts at 8% and the non-video version converts at 5%, you know the video is earning its place.
Where to track: Most hosting platforms (Loom, Wistia, Vidyard) include built-in analytics. If you're self-hosting, use UTM parameters and event tracking in Google Analytics.
Product Demo Video Checklist
Before you hit publish, run through this:
- Video is under 2 minutes (overview) or under 5 minutes (deep dive)
- Opens with the problem, not a logo or feature list
- Uses realistic data, not "test user" placeholders
- Includes zoom effects on key UI interactions
- Has subtitles/captions
- Has clear, well-paced voiceover (human or AI)
- Background music is present but not distracting
- Ends with one clear CTA
- Optimized for mobile viewing
- Placed on the highest-traffic relevant page
From screen recording to polished demo in minutes
Vidocu adds captions, voiceover, zoom effects, annotations, and background music to any video. No editing skills needed.
Create your first demoFAQ
How long should a product demo video be?
Under 2 minutes for an overview demo, 3-5 minutes for a feature deep dive. Wyzowl data shows that viewer retention drops sharply after the 2-minute mark for top-of-funnel content. If you can't cut it below 2 minutes, your script is trying to cover too much — split it into multiple focused demos instead.
Should I use a real person or AI avatar for my demo voiceover?
It depends on your use case. A real person (especially a founder or product expert) feels more authentic and builds trust for high-stakes enterprise sales. AI voiceover is better when you need to produce demos in multiple languages, iterate quickly on scripts, or scale video production without booking recording time. Many teams use both — human voiceover for the flagship demo and AI for localized versions.
What's the difference between a product demo video and a product tour?
A demo video is a recorded, linear video that tells a story — problem, solution, result. A product tour (or interactive demo) is a clickable, self-guided experience where prospects navigate your product in a sandboxed environment. Demo videos are better for top-of-funnel awareness and social sharing. Interactive tours work better for bottom-of-funnel evaluation when prospects want to explore at their own pace.
How often should I update my product demo video?
Every time your UI changes significantly. Outdated screenshots and workflows erode trust — if the demo doesn't match what users see when they sign up, you lose credibility immediately. Many teams set a quarterly review cadence and reshoot any sections where the product has changed. Using AI-powered tools that generate demos from screen recordings makes updates faster since you just re-record the changed workflow and the tool handles subtitles, voiceover, and effects automatically.
Do I need expensive equipment to make a good product demo video?
No. A modern laptop, a $30-50 USB microphone, and screen recording software are all you need. The quality of your demo comes from the script, the pacing, and the editing — not the camera. Most product demos don't use a camera at all, since the focus is on the screen recording. Tools with auto-zoom, subtitle generation, and AI voiceover eliminate most of the post-production work that used to require expensive editing software.

Written by
Daniel SternlichtDaniel Sternlicht is a tech entrepreneur and product builder focused on creating scalable web products. He is the Founder & CEO of Common Ninja, home to Widgets+, Embeddable, Brackets, and Vidocu - products that help businesses engage users, collect data, and build interactive web experiences across platforms.